Week 7: Casting and Molding
If you are a next year(s) student of HTMAA, you should know something: sometimes things just don’t work out the way you think. Sometimes, in this class, you get stuck with an assignment, and there’s no way getting out of it … this happened to me during this assignment, Molding and Casting.
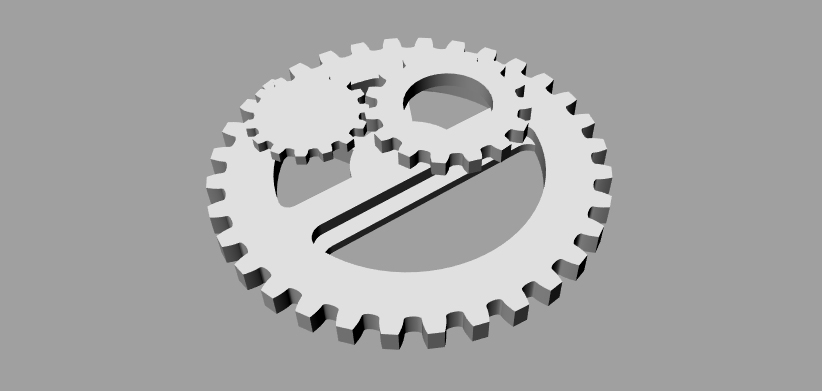
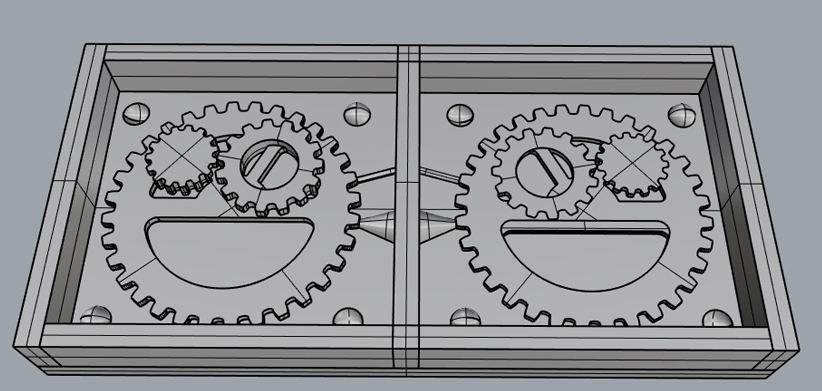
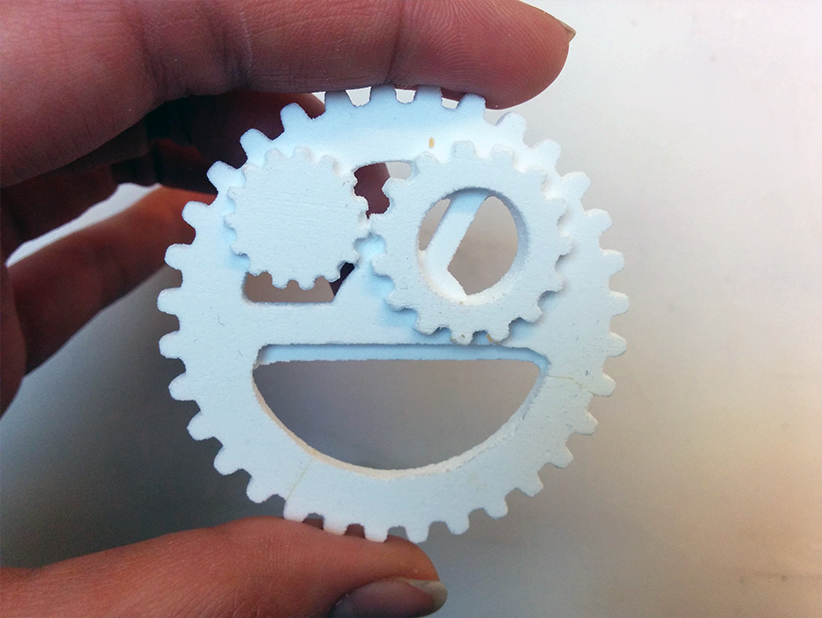
For this week’s assignment, I decided to design a beer opener, and cast it with metal. I designed a gear-shaped bottle opener in Rhino, and designed the positive mold to be milled with Modella.
I opened the STL mesh in FabModules, and waited for it to “calculate the height”. I waited and waited, restarted the computer and Modella, waited again, went home, went back school another day, did everything again, it didn’t work. I opened my model again, changed the mesh resolution, changed the dimensions, opened it in FabModules hoping that it will work this time … it still didn’t work. One week later, I gave up!
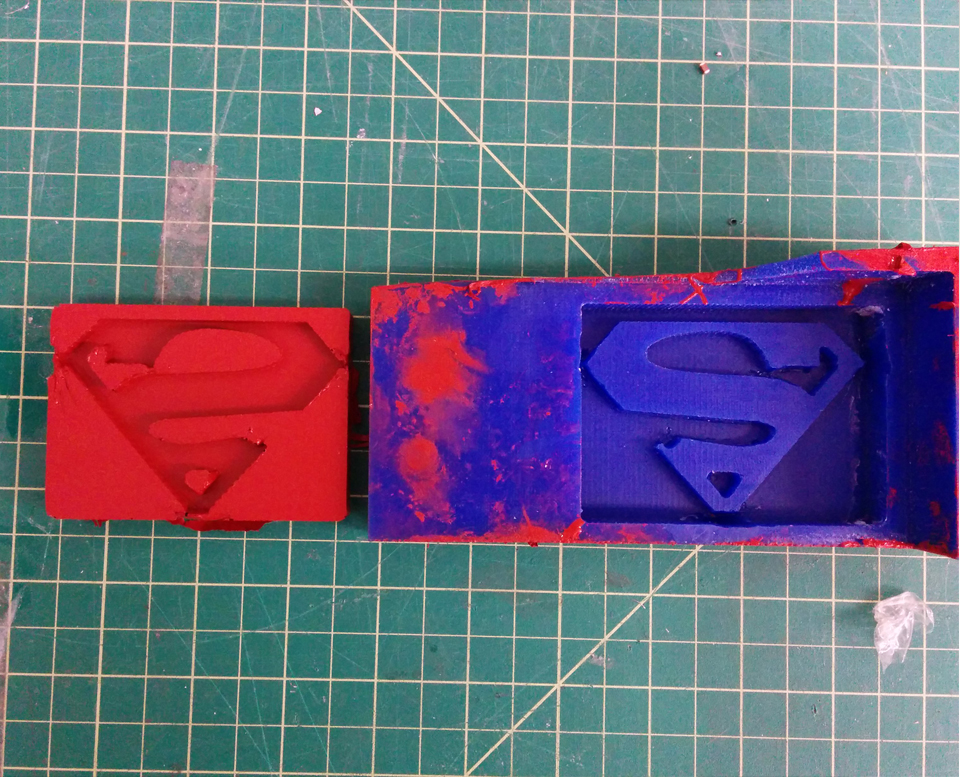
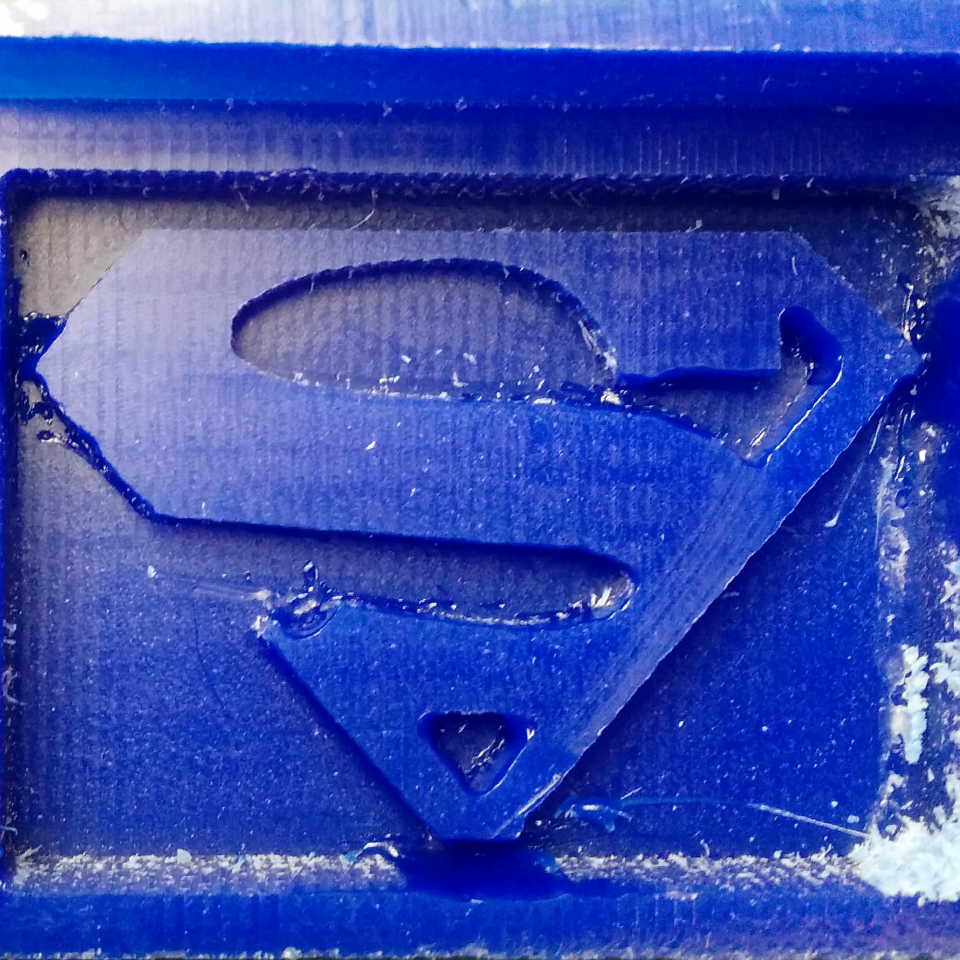
Perfect solution was to make the mold with Shopbot, but the smallest mill that can be attached to Shopbot it 1/8 inch, and my model had smaller details. So, the desperate me decided to change the design. I still needed a beer opener! (You can laugh at me at this point – but I’ve been enjoying making the things that I needed so much that I just didn’t let go! I want a beer opener, I make a beer opener!) This time, I went with Superman Logo. A small bump in the right side of the logo will open the beers for me!
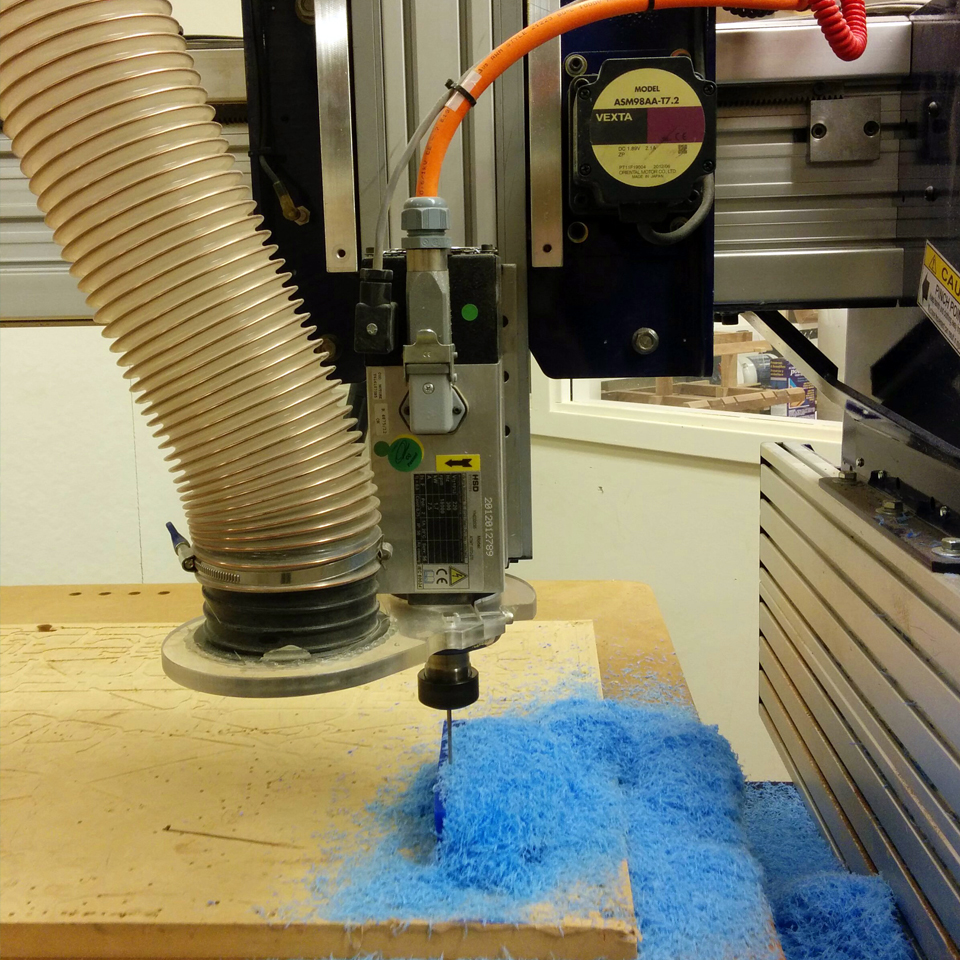
Milling with Shopbot was very fast. A TA helped me set the Mastercam file. Apart from the part that the mill broke in the middle of milling the wax, and the fact that it milled the half of my wax for nothing! and that some details of my model were missing when the milling was finished!! Milling with Shopbot was a good experience.

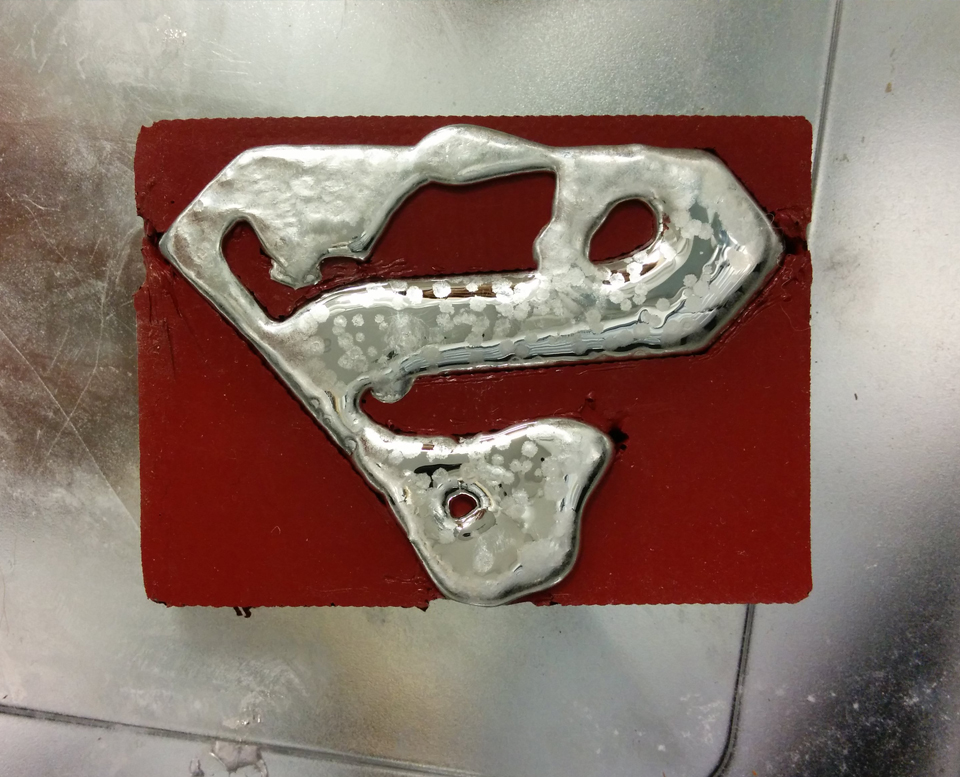
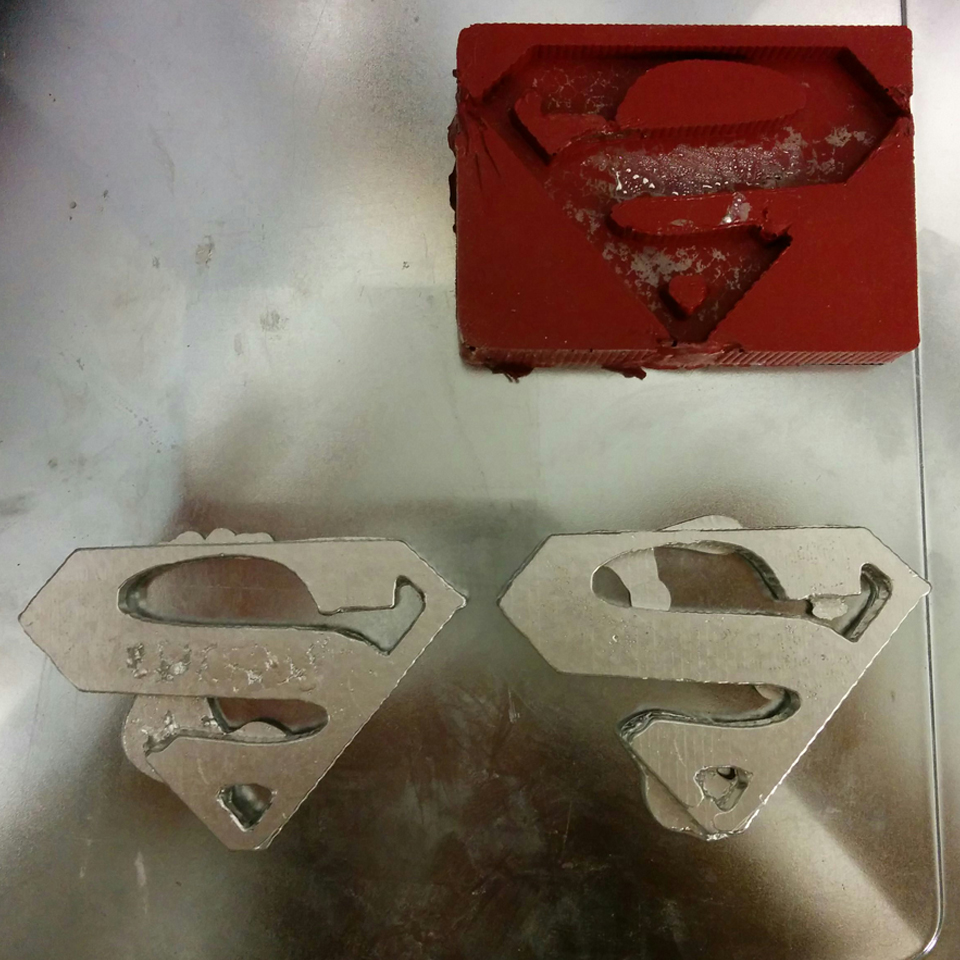
In order to correct some parts in my mold – like the attachment of logo with the walls of the mold, I used the solder Iron to do the final touches on my mold.

Before I move on with Superman, as my heart was still with the gear bottle opener, I decided to 3D print my gear and use it as the positive mold for casting metal – the technique that I learned from Jason Wang’s page (http://fabacademy.org/archives/2015/as/students/wang.tse-kang/week09.html)
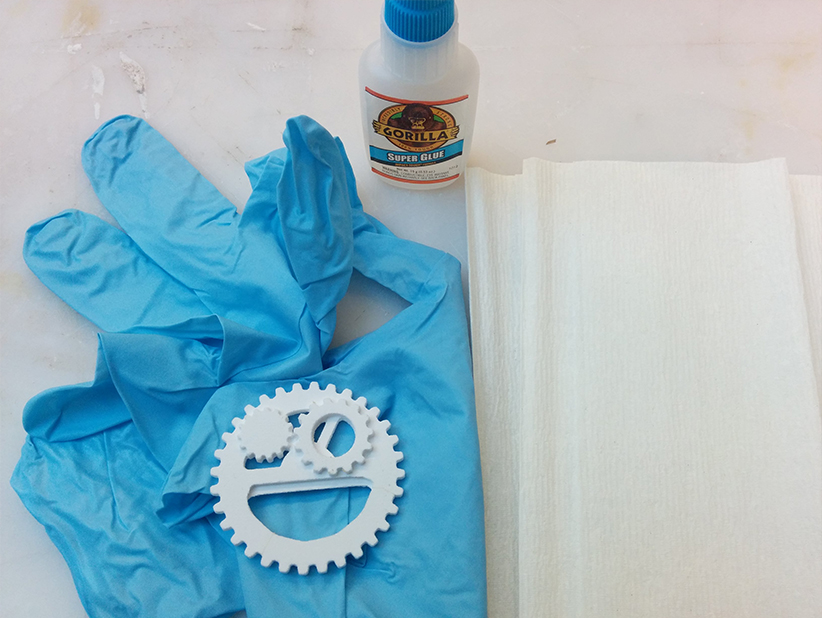
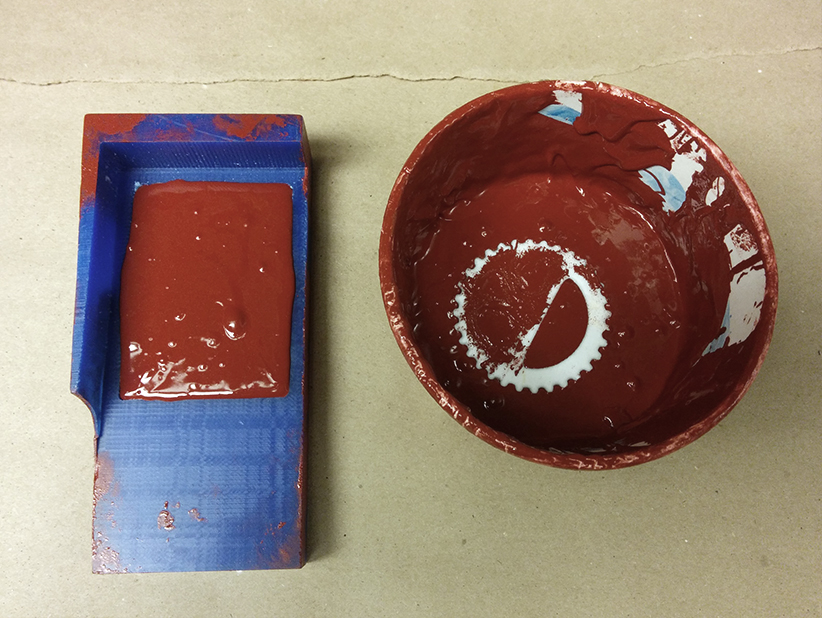
Next step was casting the negative mold – both with wax positive mold and 3D printed model. Since I wanted to cast metal for my final product, I used OOMOO 25. The instruction sheet indicated that part A and B had to be combined in specific proportions of weight. After stirring the combination of part A and B, I casted OOMOO in my milled was, and also in a cup, in which I put the 3D printed model.